A couple of days ago, I proudly presented my new bike to you. I intended to elaborate on my little DIY project, so here goes!
I got this set of panniers in grey recycled canvas from Hema (now out of stock). The canvas is of a good, sturdy quality, but I was a bit disappointed by the pleather trim which looks and feels plastic-y. Then again, I guess for the price I shouldn’t expect more than what I got.
My plan was to add some text to spruce them up. I decided to use bleach rather than paint for fear that paint would start running at the first sight of rain, or lose its colour in the sun. The bleach actually strips the fibres of their colour instead of laying colour on top, so it doesn’t wash off. Downside: no room for mistakes (unless of course splatters are part of your design). I got my inspiration from the lovely ladies of A Beautiful Mess.
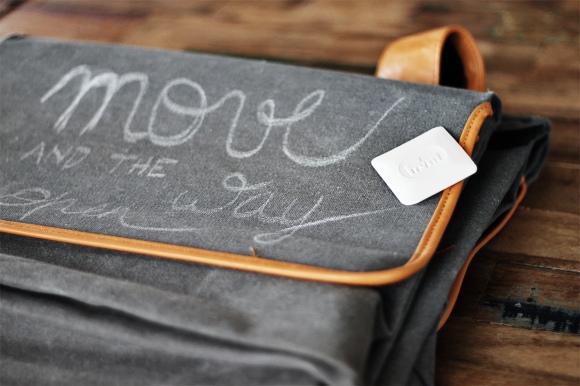
I wanted to make sure I got the design right. Knowing myself, if I went straight ahead and applied the bleach directly to the fabric, I would need to go through five sets of panniers before getting it right. A piece of tailor’s chalk came in handy at this point.
I then set to work with a cup of diluted bleach. I used your everyday cleaning bleach, which worked just fine. The trick was in the tools. Do not use an animal hair brush – the hairs just came right off my brush when I attempted it. I then tried a dip pen – no success. Ear buds – no luck. I ended up going with a stiff-haired makeup brush, and that gave me very acceptable results. Let me just make it very, very clear that I won’t be using that brush to apply eyeshadow anymore. Bleach is not good for skin, lungs or eyes, people!
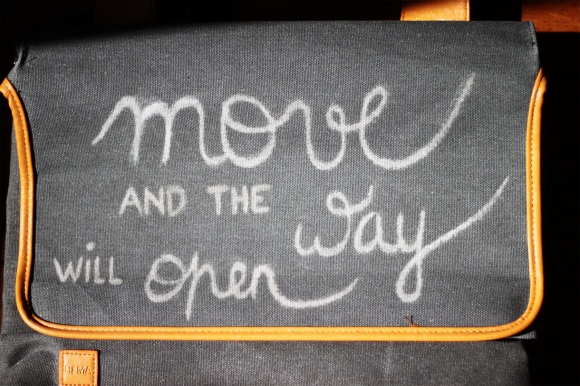
Anyway. After applying a few layers of the stuff, I let my little project sit in the sun for a while. It takes some time for the bleach to react with the fibres of the fabric, so be patient and don’t get overly enthusiastic.
Nice and bright, no? This was the result I got after about an hour. I expect results will be different depending on the type of fabric and the I then rinsed the whole thing with cold water to stop the chemical reaction of the bleach.
I imagine this method would work with just about any coloured fabric. With thin fabrics, be careful to put something underneath (like a piece of cardboard) so as not to bleach your table, floor, or the backside of your t-shirt if that is what you’re working with.
Now go on, give it a try. The possibilities are endless!


Tof gedaan Noor!